Introduction
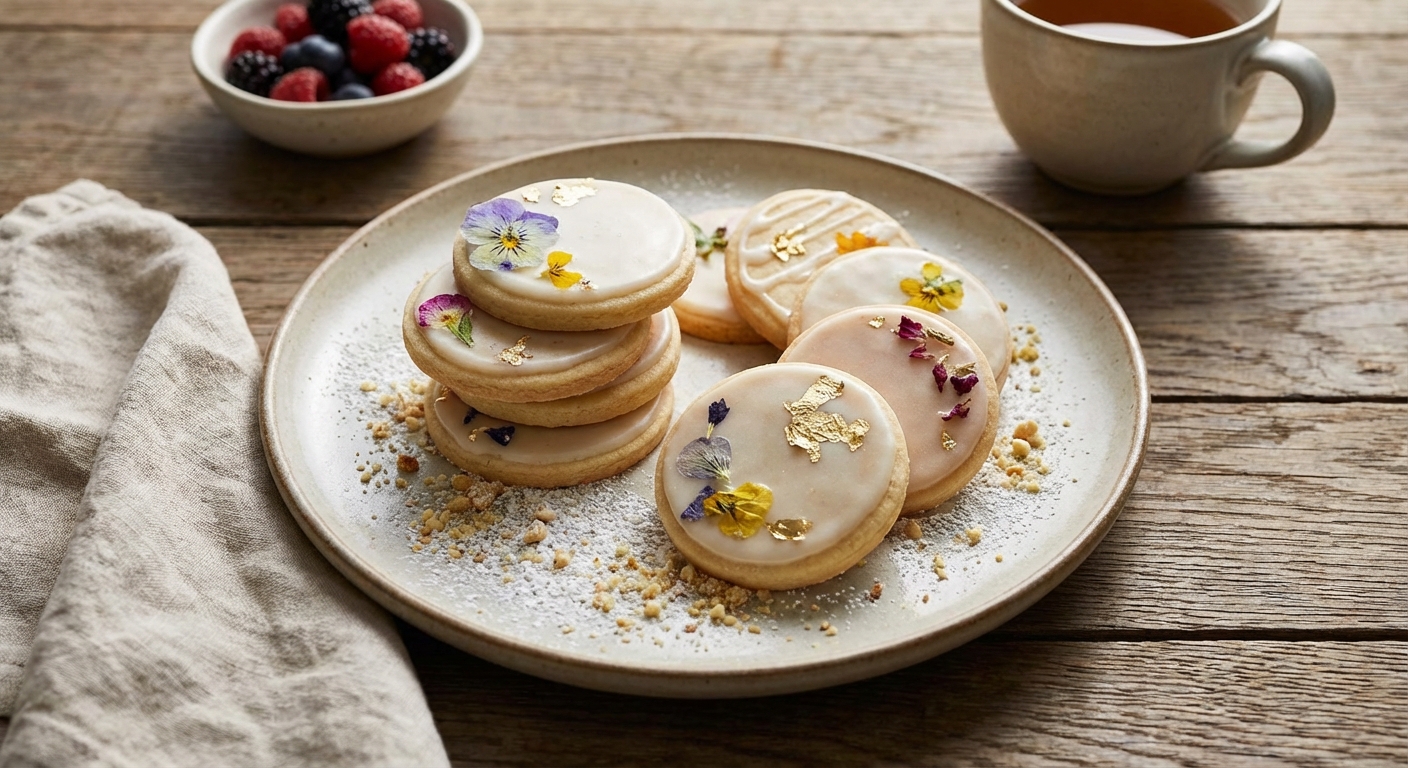
There’s something quietly magical about a tray of Simple Sugar Cookies wafting from the oven. The moment you preheat the oven to 350°F (175°C) and scent the faint sweetness drifting through the kitchen, you’re transported to a place of cozy kitchens and holiday mornings—whether you’re baking for a weekday treat or a weekend ritual. This recipe isn’t about drama; it’s about the simple joy of turning everyday ingredients into something comforting, shareable, and utterly dependable. It’s the kind of dessert that earns a permanent spot in the rotation, a little project you can whip up in under half an hour and feel like a kitchen hero while you do it.
If you’re scrolling through your cookbook or online, you’ll notice that these cookies fit neatly into several categories—the classic Dessert you crave after a meal, a quick Snack to pair with a morning coffee, and a reliable Baking project on a busy day. The beauty lies in their simplicity: butter, sugar, flour, a little vanilla, and an egg bring everything together with easy, forgiving motions. I’ve made these with a cup of tea by my side, with friends on a sunny afternoon, and even as a little “thank you” treat for neighbors who drop by with a loaf of bread. They’re not flashy, but they’re endlessly satisfying—crumbly on the edges, tender in the center, and just a touch crispy around the perimeter.
The recipe is concise: a handful of pantry staples, a gentle mixing rhythm, and a quick bake that yields cookies ready in about 25 minutes from start to finish. The result is a buttery, vanilla-forward cookie that isn’t overly sweet, providing a perfect canvas for a sprinkle of sugar, a dip into chocolate, or a simple glass of milk. It’s a timeless template that invites personalization—whether you’re chasing a more robust vanilla profile, a touch of citrus, or a festive variation for a special occasion.
As you read along, picture the texture, imagine the aroma, and feel the urge to reach for a warm cookie from the cooling rack. That’s what this recipe is all about: a dependable, comforting bite you can count on, time after time.
Ingredients Benefits
Every ingredient in these Simple Sugar Cookies plays a distinct role in shaping texture and flavor. Understanding what each element does helps you appreciate why the method works so reliably.
- All-purpose flour — Provides the structure and body of the cookie. The right amount helps you achieve a tender crumb without turning your cookies crumbly or dense.
- Granulated sugar — Creamed with butter to create air pockets, which contribute to lightness and a gentle spread as the cookies bake.
- Unsalted butter — The flavor foundation and the fat that tenderizes the dough. Using unsalted butter lets you control salt balance in the recipe.
- Vanilla extract — Adds warmth and depth of flavor. A little goes a long way in brightening the overall profile of the cookie.
- Egg — Binds the dough and contributes to tenderness. It also helps with the cookie’s slight rise and structure as it bakes.
- Baking powder — A leavening agent that gives a touch of lift, ensuring the centers stay soft rather than becoming too flat or dense.
- Salt — Enhances sweetness and balances flavors; a small amount heightens the baked cookies’ overall perception of flavor.
If you’re new to this recipe, set up your mise en place first—measuring and readying your flour, sugar, butter, and the other ingredients—so you can move through the steps smoothly. And if you want to broaden this into a well-rounded dessert category experience, these cookies pair wonderfully with a Dessert tasting, a quick Snack break, or a baking session that you might consider as part of your weekly Baking routine.
Expert Tips
Even though the recipe is straightforward, a few professional tips help ensure consistently delicious results every time you bake.
- Room-temperature butter makes for ideal creaming with sugar. If your butter is too soft or melted, your cookies may spread too much. Aim for soft but cool-to-the-touch butter for the best air incorporation when you beat them together.
- Don’t overmix after you add the dry ingredients. Mix just until the flour disappears into the wet mixture. Overmixing can develop more gluten, leading to tougher cookies rather than delicate, crumbly edges.
- Use a 1-tablespoon cookie scoop or a heaping tablespoon to portion the dough. Uniform sizes bake evenly and create a pleasing, consistent batch. If you don’t have a scoop, you can roll the dough into even balls with wet hands for smoother edges.
- Line your baking sheet with parchment paper or a silicone baking mat to prevent sticking and promote even browning. This also makes cleanup a breeze and helps your cookies release without breaking apart.
- For softer cookies, pull them from the oven when the edges just start to turn golden. For crisper edges, leave them a minute or two longer. All ovens vary—so a quick mid-bake check ensures you don’t miss the window.
- Optional chilling: If your dough feels too soft to handle, chilling for 15–20 minutes before shaping can help maintain spherical form and prevent spreading too much during baking.
- Oven placement matters. Bake on the middle rack and rotate the pan halfway through to encourage even browning. If you’re baking multiple pans, stagger the racks and give each pan a little rotation for uniform results.
- Make-ahead note: You can prepare the dough and refrigerate it for up to 2 days before baking. This helps you plan ahead for gatherings while keeping a fresh-tresh batch ready to go.
Serving Suggestions
These cookies shine on their own, but they also invite a bit of creativity. Here are a few simple ways to elevate or personalize them without drastically altering the recipe.
- Classic simplicity: A light dusting of sugar before baking adds a subtle sparkle and a touch more sweetness. It also gives a friendly crunch to the bite.
- Milk dunkers: Serve with a cold glass of milk, coffee, or tea. The cookies’ tenderness makes them a perfect dunking partner, especially on a cozy afternoon.
- Flavor lift: Stir in a pinch of citrus zest (lemon or orange) into the wet ingredients before adding the dry mix for a bright, citrus-toned bite that still respects the cookie’s simplicity.
- Chocolate finish: Once baked and cooled, dip half of each cookie in melted chocolate or drizzle a fine line of chocolate over the top—a café-style treat in minutes.
- Festive touch: For holidays, sprinkle with colored sugar or small nonpareils before baking to create a playful, festive look that kids and adults alike will love.
- Gifting idea: Bake a batch, cool completely, and package in a tin with a ribbon. A homemade batch like this feels thoughtful and heartwarming without needing elaborate decorating.
If you’re curious about ingredient-specific ideas, you can explore more about each component at the ingredients pages linked above, and you can browse related desserts in Dessert collections to discover companions for your cookies—the possibilities are deliciously endless.
FAQ
-
Q: How long do these cookies stay fresh?
A: When stored in an airtight container at room temperature, they stay soft and tasty for about 3–4 days. For longer storage, you can freeze baked cookies for up to 1 month, or freeze the dough (unbaked) for up to 2–3 months. Rewarm or re-soften briefly in a low oven if needed.
-
Q: Can I make this dough ahead of time?
A: Yes. The dough can be made ahead and chilled for up to 2 days before baking. If you chill it, you’ll likely want to let it sit at room temperature for a few minutes to soften slightly before shaping into balls.
-
Q: What if I don’t have baking powder?
A: Baking powder helps with a touch of lift. If you’re out, you can substitute with 1/4 teaspoon baking soda plus 1/2 teaspoon cream of tartar. This combo approximates the leavening effect, though results might be slightly different in texture. If you use a substitute, keep an eye on bake time and edges.
-
Q: Can I adapt this recipe for dietary needs?
A: Absolutely. For a gluten-free version, use a 1:1 gluten-free all-purpose flour blend (ensure it contains xanthan gum or add 1/4 teaspoon xanthan gum per cup of flour). For dairy-free, substitute the butter with a high-quality unsalted dairy-free butter or coconut oil. For vegan options, use an egg replacer equivalent to one large egg and ensure your additional ingredients align with plant-based standards.
If you enjoyed this walk-through, let it inspire your next baking session. The more you bake, the more you’ll notice the quiet magic of simple ingredients becoming something comforting and shareable. And if you’re excited to turn your own ideas into a delicious project, I’d love for you to explore more and try crafting your own recipes. You can get started here: create.