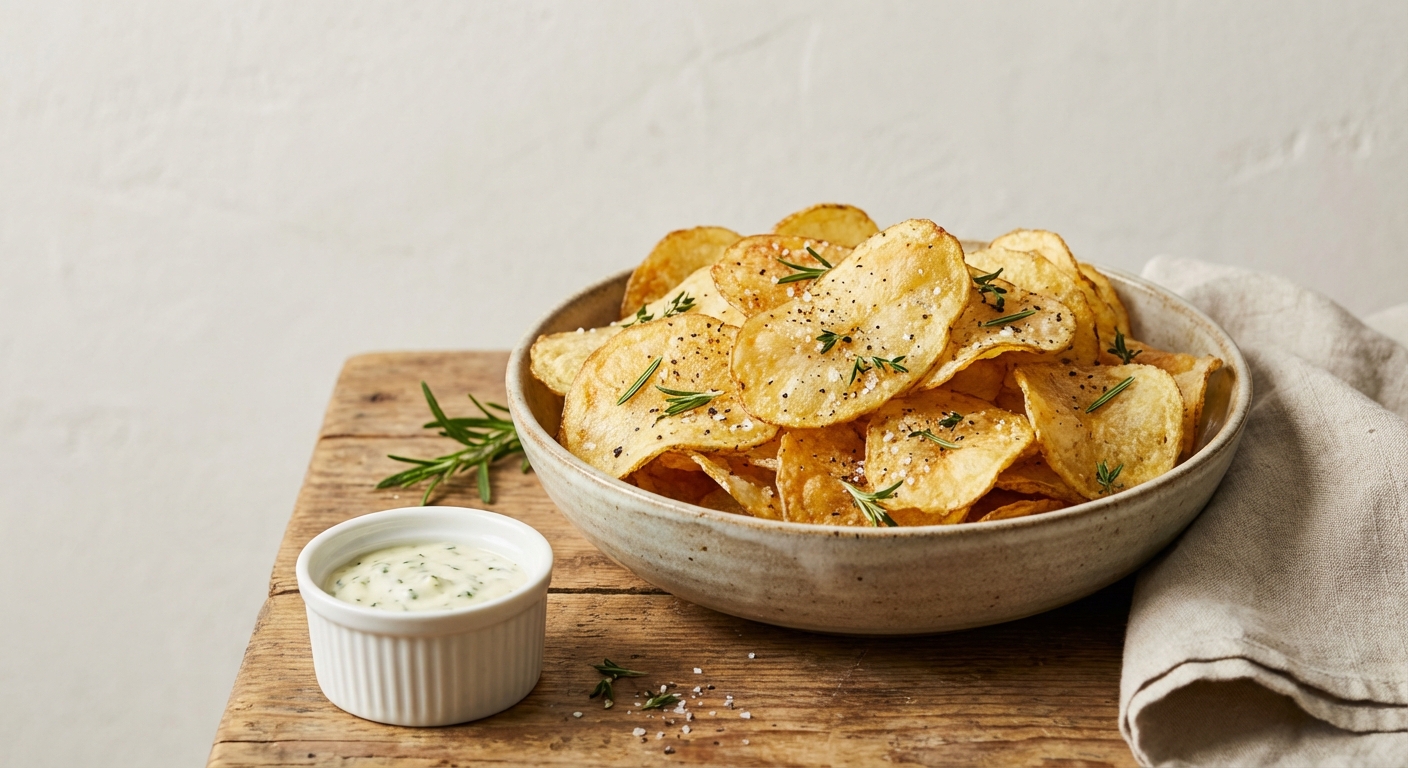
Crispy Homemade Potato Chips: ultra-thin, golden slices fried to perfection, lightly salted with pepper—your cozy, shareable snack in just 45 minutes.
Crispy Homemade Potato Chips: ultra-thin, golden slices fried to perfection, lightly salted with pepper—your cozy, shareable snack in just 45 minutes.
Ready to cook?
Get the complete ingredient list, step-by-step instructions, and nutritional info
View Recipe →I have a soft spot for store-bought snacks that crackle with every bite, but the real magic happens when you can recreate that same satisfaction at home. The first time I peeled back the curtain on Crispy Homemade Potato Chips, I was in a tiny kitchen after a long week of testy deadlines and coffee that had grown cold too many times. I wanted something simple, nourishing, and crowd-pleasing, something that could turn a quiet evening into a mini celebration. And you know what? The crisp, golden chips that came out of that test run did not disappoint. They were the kind of snack that makes you slow down, lean into the plate, and whisper, “Just one more.”
This recipe is thoughtful about every step, from the choice of potato to the way you season while they’re still hot. It’s proudly snack worthy, and since it’s vegan and gluten-free by design, it’s a snack you can share with just about anyone. The method is flexible enough for a casual weeknight craving or a weekend gathering, and it all comes together in about 45 minutes. If you’re new to homemade chips, you’ll love how approachable the process is—and how the end result tastes like a little vacation for your taste buds. For this recipe, I’ve kept things straightforward: a few simple ingredients, precise timing, and a lot of patience for that perfect level of crispness. The star of the show is, of course, the potato, but the other elements—salt, pepper, and oil—play their supporting roles with quiet finesse.
When you’re ready to shop, consider these pantry basics: potatoes that are firm and blemish-free, salt for depth, and a neutral vegetable oil that can handle high heat. I like to keep a watchful eye on the oil temperature, because the moment the fries hit 350°F (180°C) is the moment the chips start to turn that glorious golden color. It’s a small moment, but it makes all the difference between a soggy fry and a satisfying crunch. If you’re ever tempted to skip the soaking step, don’t—this is where the crispiness begins, by washing away excess starch and letting the slices dry thoroughly before they enter the hot oil.
Before you dive into the execution, a quick note on why each ingredient matters and how it contributes to the final result. This is where the “why” behind the method becomes deliciously clear, and you’ll appreciate how simple ingredients can deliver big crunch and big flavor without any heavy lifting in the kitchen. The recipe is gluten-free and vegan by design, so it’s accessible to a wide range of eaters, which means it’s perfect for gatherings where you’re not sure of everyone’s dietary needs.
One small practical note: I typically don’t peel the potatoes unless I want a smoother, peel-free texture. Leaving the skins on adds color and a little extra chew, which can be a nice contrast to the ultra-thin interior. It’s also a great way to embrace minimal waste in the kitchen. For those who prefer a completely smooth chip, peeling is a perfectly valid option as well—we’ve got you covered no matter which route you choose. The important thing is to keep those slices uniform, about 1/8 inch thick, so they cook evenly and you don’t end up with overcooked edges and undercooked centers.
A practical reminder: these chips are best enjoyed fresh. If you’re planning to make them ahead, store the fully cooled chips in an airtight container at room temperature, and re-crisp for a few minutes in a hot oven to revive that crunch. They won’t be quite as perfect as the day-of batch, but they still offer plenty of satisfaction for hungry friends and family.
These Crispy Homemade Potato Chips shine on their own, but they also pair beautifully with a variety of dips and sides. They’re the kind of snack that invites conversation, so you can set out a little dip station and watch conversations spark around the table. Here are some of my favorite accompaniments:
Tip: try pairing these chips with a simple dipping sauce that mirrors the color and crunch of the chips themselves—bright, zippy, and inviting. They’re a terrific accompaniment to casual weeknight meals or to serve as a crunchy starter at a weekend gathering. If you’re excited about a bigger project, consider exploring other snack recipes in the same vein to build a little snack board that excites guests and keeps the conversation flowing. And if you’re feeling inspired to create more on your own, I’d love to see what you come up with—you can start your own culinary journey here: Create.
Whether you’re new to homemade chips or you’re a seasoned fryer, these Crispy Homemade Potato Chips are a comforting reminder that great flavor can come from simple ingredients and careful technique. They embody a playful, relaxed approach to cooking that invites experimentation while still delivering that unmistakable crackle in every bite. So gather your ingredients, set up your station, and give yourself permission to savor the process—and the chips—one delicious, crunchy bite at a time. And when you’re ready to expand your own culinary repertoire, remember to explore more ideas and create your own recipes at this page.
Enjoy the journey, and happy frying!
Discover similar recipes you'll love