Creamy vanilla fudge with a velvety melt, perfected by precise temperature and care. A comforting candy for holidays and everyday gatherings. Finish. Yum.
Creamy vanilla fudge with a velvety melt, perfected by precise temperature and care. A comforting candy for holidays and everyday gatherings. Finish. Yum.
Ready to cook?
Get the complete ingredient list, step-by-step instructions, and nutritional info
View Recipe →There’s something uniquely comforting about fudge—the way a glossy square yields to a clean bite, releasing a whisper of vanilla and butter that makes the day feel a little brighter. My Creamy Penuche-Style Butter & Milk Fudge (Vanilla Fudge) is the grown-up, velvety cousin to the classic fudge we all grew up loving. It’s not merely a dessert; it’s a little alchemy of science and patience, a method that rewards you with a surface so smooth you can hear the knife glide through it. And yes, this fudge takes a little time—2 hours and 35 minutes, including chilling—but most of that time is for cooling, not constant fussing. The payoff is a confection that slices into neat squares with a soft, melt-in-your-mouth texture and a butter-forward richness that never feels heavy. If you’re a fan of desserts, this fudge finds a comfortable home in both the Dessert and Holiday spaces on our site, where it can join other sweet classics that spark nostalgia while standing confidently on their own merits. The method is simple at heart: dissolve the sugar in milk without scorching, reach the soft-ball stage, fold in butter and salt to enrich the syrup, and then cool and beat just enough to coax a fine lattice of sugar crystals into a creamy, cohesive mass. The texture is the star here—a gleaming, velvety fudge that doesn’t crumble or grain, but rather stays tender and sliceable. As I worked through the recipe, I kept thinking about how candy making is a dance between heat and patience. You don’t rush the science, and you certainly don’t skip the steps that keep crystals from forming too soon. The result is fudge that holds its shape, but still feels luxurious on the tongue—a gift to share at gatherings, to tuck into boxes for gifts, or to enjoy as a quiet, self-indulgent afternoon treat. If you’re new to candy making, this vanilla fudge is a friendly introduction to temperamental sugar, precise temperatures, and the magic of controlled crystallization. And if you’re a veteran candy-maker, you’ll appreciate how the creamy texture is coaxed to life with a careful hand and a trusted thermometer. Ready to dive in? Let’s explore what makes this fudge so special, from the humble ingredients to the exact processes that ensure success.
Every component in this fudge has a purpose, from sweetness to mouthfeel to flavor depth. I’ve highlighted how each element contributes to the final texture and taste, and you can click through to learn more about each ingredient on its own page. This isn’t just about following a recipe—it’s about understanding how candy science shapes every bite.
For reference, the recipe lives in several comforting categories, including Dessert and American confections, which makes it easy to discover during holiday planning or spontaneous dessert brainstorming.
Great fudge hinges on precision and a little candy-science mindfulness. Here are the tips that make the difference between crowd-pleasing and crumbly chaos. Treat these as the guardrails that keep your fudge glossy, tender, and perfectly sliceable.
If you’re curious to explore more about ingredient roles or to see other category explorations, you can browse related pages like our Holiday line or revisit the Dessert section for other sweet inspirations. And if you’re itching to try your own candy experiments, I’d love to see what you cook up next—start by visiting our create page to begin planning your own warm, inviting confections.
Once your fudge has chilled and you’ve sliced it into 16 neat pieces, it’s ready to deck out any dessert table, package as thoughtful gifts, or tuck into lunch boxes for a mid-day treat. The vanilla flavor is clean enough to pair beautifully with coffee, a mug of hot chocolate, or a simple berry compote if you want to add a bright accompaniment without overpowering the fudge itself.
Presentation matters as much as flavor. For a charming holiday display, arrange the fudge squares on a platter lined with parchment and nestle a few holly sprigs or cinnamon sticks nearby for a festive scent and visual cue. If you’re gifting, wrap individual squares in parchment or cellophane with a twine bow. The butter-rich character shines when you keep the squares a touch on the soft side, so avoid leaving the fudge at room temperature for too long if you’re not serving it right away.
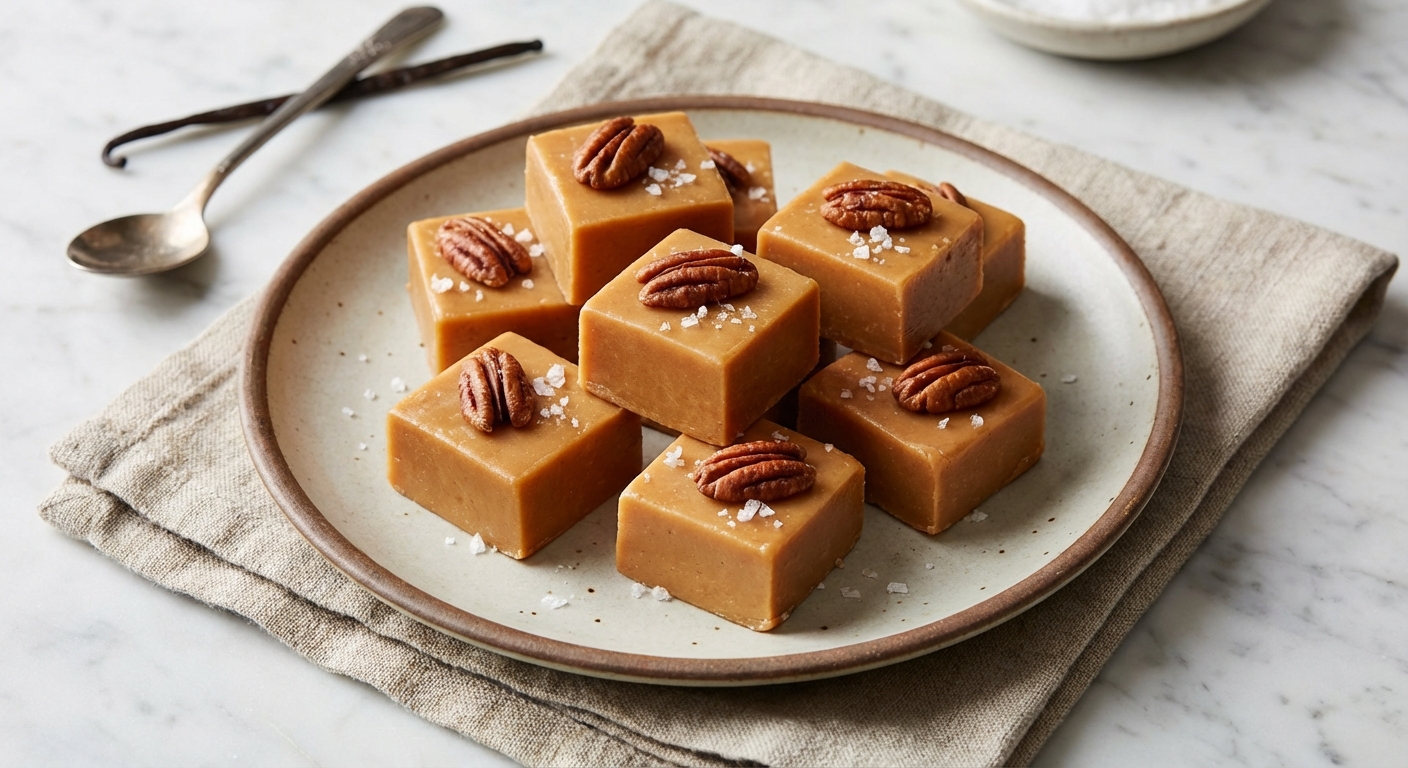
Love a little variety? Consider small add-ins: toasted chopped nuts (pecans or walnuts), a light drizzle of melted dark chocolate for a two-tone effect, or a pinch of espresso powder whisked into the vanilla for a café-style fudge twist. Just be mindful of proportions; you still want that creamy, melt-in-your-mouth glide rather than a grainy or overly solid bite. This fudgy canvas is versatile, and the simple vanilla base ensures the flavors remain crisp and clean while accommodating your own signature touches. If you’re planning a party, you can link this fudge alongside other crowd-pleasers in our dessert lineup, and you’ll offer guests a comforting, timeless option that feels both homemade and luxurious.
When you’re ready to share, remind guests that this fudge is a classic American confection that shines in the American candy tradition, while also feeling perfectly at home in the larger Dessert landscape. And if you’re cooking for someone with dietary considerations, you can tailor the fudge by adjusting the milk or trying a dairy-free variation with coconut milk—though I’ll admit, the dairy-based version is where the fudge truly sings. Regardless of the path you choose, this vanilla fudge gives you a reliable, spectacular end to any meal and a reliable go-to for holiday giving. I highly encourage you to post a photo of your own batch and tag the recipe so others can see how the technique plays out in real kitchens around the country.
To kick things off, you can start by exploring the core ingredients behind this fudge and their specific pages. Then come back here for the method, tips, and the best way to cut and store your finished pieces. If you’re ready for more sweet inspiration, check out other recipes in our Candy, Confection, and American dessert collection, and don’t forget to share your own variations with the community. And when you’re ready to embark on your next culinary journey, hop over to the create page and start designing your own candy adventures.
In an airtight container at cool room temperature, it will stay fresh for up to a week. If you prefer longer storage, refrigerate for up to 2 weeks. Let it come to room temperature before serving for the best melt-in-your-mouth texture.
Yes. You can prepare the fudge up to the point of chilling, then wrap and refrigerate the sheet before slicing. Bring to room temperature for about 20 minutes before slicing for cleaner cuts and a more forgiving texture.
Whole milk could be replaced with a mix of milk and cream for a richer fudge, but keep in mind it will set a bit firmer. If you need to avoid dairy, you can experiment with coconut milk, though the texture may be slightly different. The core technique—dissolving sugar, reaching soft-ball stage, and controlled crystallization—remains the same.
Graininess usually indicates premature crystallization. Brush down sugar crystals and, if needed, reheat gently to dissolve the crystals before re-cooling. For a softer fudge, ensure you beat only until the mixture loses gloss and holds its shape briefly, then transfer quickly to the pan and chill promptly.
If you try this fudge, I’d love to hear how your batch turns out. Share your photos and tweaks—and if you’re ready to keep exploring, try a few variations and see which one you love most. The candy-making journey is half the joy, and the other half is sharing your delicious results with friends and family. And when you’re ready for your next culinary project, remember there’s a whole world of recipes waiting for you on the site—start by visiting the create page to begin creating your own delicious treats.
Discover similar recipes you'll love