Introduction
There’s something almost sedate about a proper custard. It doesn’t shout for attention the way a gleaming glaze or a towering pastry might; instead it cozies up to you with a silken, cut-glass finish and a whisper-quiet elegance that makes you wonder why you don’t make it every weekend. I fell in love with classic custard the first time I watched it set in a shallow dish, slow-baking while the kitchen filled with the warm, eggy perfume of vanilla. The beauty of this Classic Custard lies in its simplicity: just a handful of pantry staples, a gentle heat, and the old-fashioned discipline of tempering your eggs so they never curdle. It’s a dessert that rewards patience, a dessert that travels well from a lazy weeknight treat to a dinner party finale without a single extra flourish.
In this post, I’m sharing a faithful, no-nuss approach to the custard I always reach for when I crave something comforting yet refined. The technique is unglamorous but reliable: whisk the eggs with sugar, coax nearly-scalded milk into them, strain for silk, and bake in a water bath until the edges set and the center remains a touch wobbly. The result is a custard with a soft, creamy interior and a glossy surface that gleams like porcelain. It’s a dessert that invites you to slow down, savor each spoonful, and remember that the simplest ingredients—eggs, milk, sugar, vanilla, a pinch of salt—can yield something extraordinary when treated with care.
If you’re exploring in the Dessert category or scoping out other sweet treats in the Sweet aisle of your culinary library, this Custard will fast become a staple. It pairs beautifully with bright fruit in season, a dollop of whipped cream, or a dusting of nutmeg that whispers autumnal warmth. And the best part? It’s a make-ahead marvel: you can bake the custards, chill them, and have an elegant finish ready to go whenever nostalgia strikes. For the full experience, gather the core ingredients—
Before you begin, set aside a quiet hour. This is a dessert that asks for a respectful pace. Preheat the oven to 300°F (150°C), prepare your ramekins, and warm the milk so that it’s just shy of simmering. The rest is history—the kind of kitchen history you’ll want to repeat again and again, year after year. If you’re new to the technique, you’ll find the steps below broken down in a way that’s approachable, almost comforting, and very doable in a small kitchen with big dreams.
Ingredients Benefits
While this classic custard feels simple, each component has a deliberate role in shaping the final texture and flavor. Understanding what each ingredient brings to the party can help you appreciate why precision matters here as much as it does in a more complex dessert.
- Eggs — The backbone of custard. They provide structure and richness, giving you that characteristic lift without becoming airy or souffle-like. Using large eggs keeps the texture consistently smooth and helps the custard set evenly as it bakes. Learn more about eggs and how their size and freshness influence custards and other desserts.
- Sugar — Beyond sweetness, sugar helps tenderize and adds a faint glossy sheen as the custard chills. It also stabilizes the custard’s texture to a degree, ensuring a gentle, velvet-like mouthfeel rather than a dense, custardy bunker. Explore your sugar options and how they behave in dairy-based desserts at sugar.
- Milk — The dairy foundation. Whole milk delivers creaminess without heaviness; if you’re feeling indulgent, you can use a splash of cream, but the classic version relies on whole milk to keep the spoon-slick texture while still staying pourable and sliceable. For a deeper dairy note, read up on milk and dairy ratios in custards.
- Vanilla extract — Aromatic glow. A teaspoon of vanilla invites perfume into the custard, lifting the other flavors without overpowering them. The best vanilla makes a subtle but essential difference, especially in a dessert where the flavor is dialed down to the essentials. See more on vanilla extract and how its strength can vary by bean quality and processing.
- Salt — A tiny pinch that sharpens sweetness and rounds out the vanilla. Salt may seem counterintuitive in a sweet dish, but it’s the trick that makes flavors pop. If you’re curious about how salt works in desserts, you can find deeper notes linked under salt.
Expert Tips
Even with a straightforward recipe, the devil hides in the details. Here are tried-and-true tips that ensure your Classic Custard sets with a satin-smooth finish, every single time.
- Temper the eggs properly. Whisk the eggs, sugar, vanilla, and salt until smooth. Then, gradually whisk in the warm milk, a little at a time, while you whisk continuously. This gradual introduction—known as tempering—prevents the eggs from scrambling and guarantees that the custard remains silky rather than curdled.
- Warm milk to just under simmering. Heat the milk until it’s about to reach a simmer. If it boils, the proteins can seize the texture; if you take it off the heat a touch early, you’ll still achieve that creamy mouthfeel once combined with the egg mixture. The key is to keep it hot but not boiling.
- Strain for ultra-smoothness. After you combine the milk with the egg mixture, strain it into a measuring cup or bowl. This step catches any stray bits that can cause a grainy texture, ensuring your custard is perfectly smooth from cup to bite.
- Water bath, water bath, water bath. Place the ramekins in a baking dish and pour hot water halfway up the sides of the ramekins. The gentle, surrounding heat keeps the custards from cracking and helps them set evenly with a creamy center. It’s the unsung hero of proper custard texture.
- Bake until just set at the edges. The edges should be set, with the centers still a touch wobbly. Overbaking yields a firm, rubbery texture; underbaking leaves you with a too-liquid center. If you’re unsure, give the pan a tiny jig—the center should wobble like a tray of soft jellies, not a lake of liquid.
- Chill fully before serving. After the warm bake, let the ramekins come to room temperature, then refrigerate for at least 2 hours. The chilling allows the custard to finish setting and enhances the mouthfeel—the kind of cold, creamy finish that makes a spoon glide through the middle with ease.
- Flavoring and garnishes. The base is restrained, but you can play with texture and aroma. A light grating of nutmeg just before serving adds a warm perfume; or you can crown the custards with a dollop of whipped cream for extra richness. If you like citrus, a very light zest of lemon or orange can brighten the finished dish without overwhelming the vanilla.
Serving Suggestions
Serving custard is almost as important as cooking it. The dish invites quiet contemplation as you scoop the first spoonful and watch the interior shimmer under the soft glow of the kitchen light. Here are a few thoughtful ways to present Classic Custard at your table or for guests.
- Elegant simplicity. Serve chilled in the classic ramekins as they lie, perhaps with a light dusting of nutmeg. The simplicity is part of the charm: pale vanilla custard, a smooth surface, and a velvet mouthfeel that invites slow tasting.
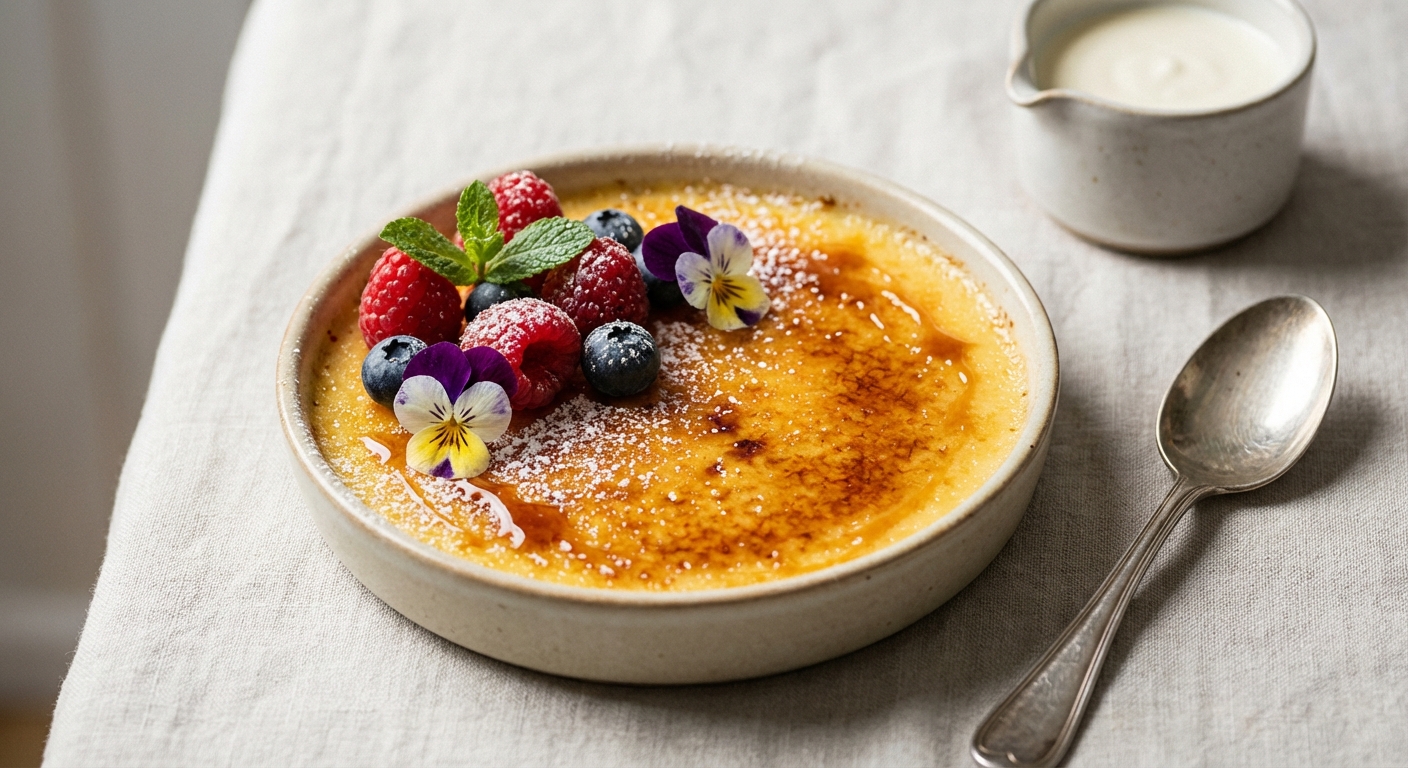
- Pairings. Fresh berries, a tart compote, or a whisper of citrus zest brightens the dessert without masking the custard’s delicate vanilla backbone. A few sliced strawberries or a spoonful of warm berry coulis can create a pleasing contrast between warm and cool, soft and bright.
- Textures and toppers. A dollop of softly whipped cream adds aeration and a luxurious finish. If you’re feeling nostalgic, a thin shard of toasted almond or a crumble of shortbread on the side introduces a satisfying crunch that contrasts with the custard’s silkiness.
- Make-ahead magic. Because this custard is at home in the refrigerator, you can prepare it ahead of time and simply retrieve it when you’re ready to serve. The flavors deepen slightly with a little rest, and the chill helps the custard cut beautifully into neat portions for a plated dessert.
FAQ
Here are some quick, practical answers to common questions about Classic Custard. If you’re wondering about substitutions or storage, you’ll likely find the guidance you need here.
- How long does custard keep? Once fully chilled, the custards will keep well for 2–3 days in the refrigerator. For best texture and flavor, cover the dishes or transfer to individual containers to prevent moisture loss and flavor transfer from other foods.
- Can I make this ahead? Absolutely. The custards can be baked, cooled completely, and refrigerated for up to 2 days before serving. Gently re-chill if you find the texture has set too firmly after chilling; a brief return to room temperature before serving can restore a supple spoonability.
- substitutions or variations? You can experiment with different vanillas (e.g., vanilla bean seeds or vanilla paste) for a stronger aroma, or swap in a touch of almond extract for a nutty twist—just be mindful of the balance, as this can shift the custard’s flavor profile significantly. If you’re dairy-restricted, consider using a full-fat dairy substitute that behaves similarly when tempered, though results may vary depending on the product.
- Can I bake custard without a water bath? It’s technically possible, but the water bath is strongly recommended. It helps distribute gentle heat, reduces the risk of curdling, and yields a more evenly-set texture with a creamy center. If you skip the water bath, you’ll need to monitor very carefully and may end up with a firmer, less tender finished product.
As you can tell, the heart of this Classic Custard is humble ingredients treated with a bit of care and patience. It’s a dessert that teaches you to respect technique without sacrificing warmth or flavor. If you try this method at home, you’ll likely discover a new kitchen ritual: a weekly moment of quiet, a simple dessert that makes ordinary evenings feel special, and a baseline you can build variations from as you grow more confident in the kitchen.
And if you’re curious to explore more comforting recipes with a similar approach, don’t forget to explore other desserts in the Dessert section, or see what other custard dishes we’re crafting in this culinary space. When you’re ready to create your own recipes, try your hand at building a small library of classics like this one in the Create area. It’s a wonderful way to record your tweaks, note what works with your pantry, and watch your confidence grow with each new project you tackle.